
Welcome to the 2014 *January* edition of the Wednesday Artisan Blog Hop. Check back every Wednesday to see new projects that all 10 of the Stampin' Up! Artisans have created.
Holla!! It's January. I feel like time is going SO fast!! It'll be summer before we know it! Anyway... Are you loving the new Mini Catalog?
GORGEOUS.
Hi. Hello. I am in love with the new wooden embellishments AND the word bubble framelits.
L.O.V.E.


I created these adorable hearts using my Silhouette Cameo. Here is how you can create the same thing:
- Create a rectangle that will be the size you'd like your top layer to be cut. Mine is 3.25" x 4.75".
- Import the heart from the Bookstagram MDS download into your program.
- Resize your heart to be .25" wide.
- Open your trace window

- Click Select Trace Area
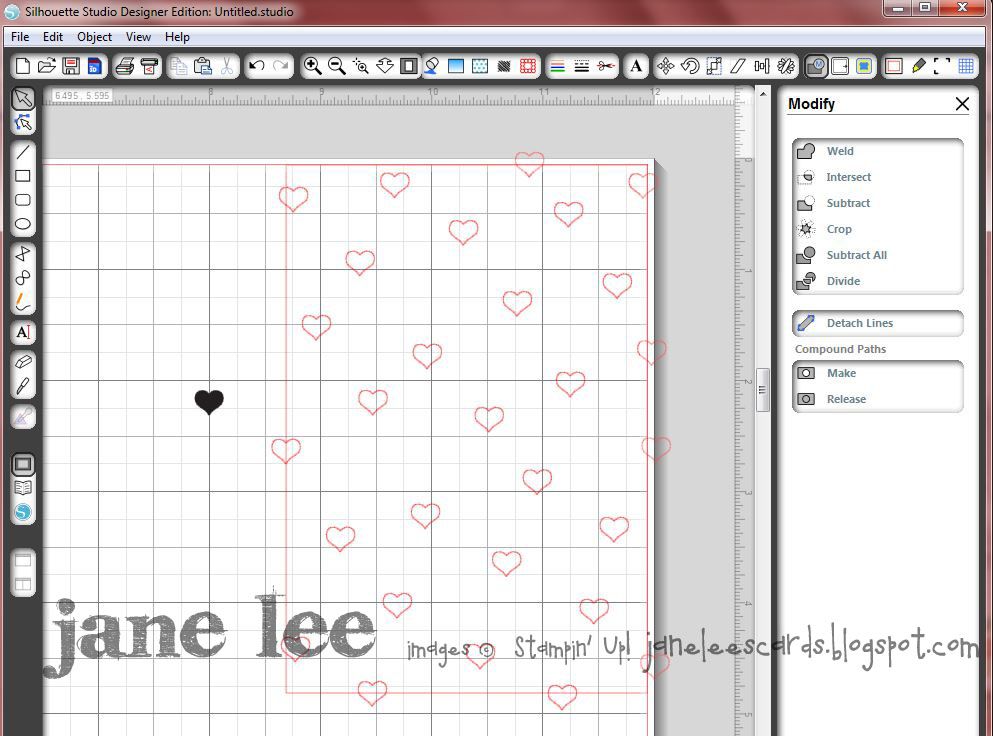
- Then click Trace Outer EdgeYou should have a red outline around your heart.You can move your black heart out of the way.
- Click the red outline of the heart and create several duplicates. I just placed them randomly all over the square. I made sure to have some hearts go outside of the square too.
- Click the Select arrow on your toolbar.
- Draw a square around your rectangle with hearts in it.
- Your rectangle and all the hearts should have outlines around them.
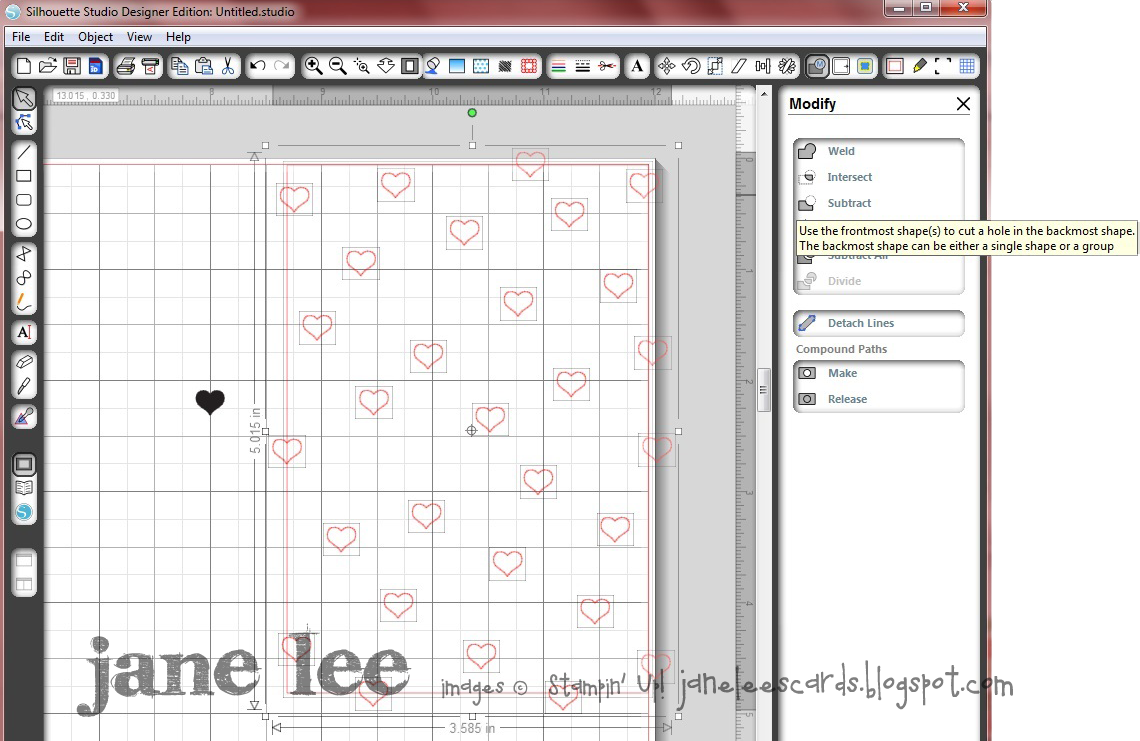
- Click the Open the Modify Window.
- Click the Subtract option.
- Your screen should look like this:
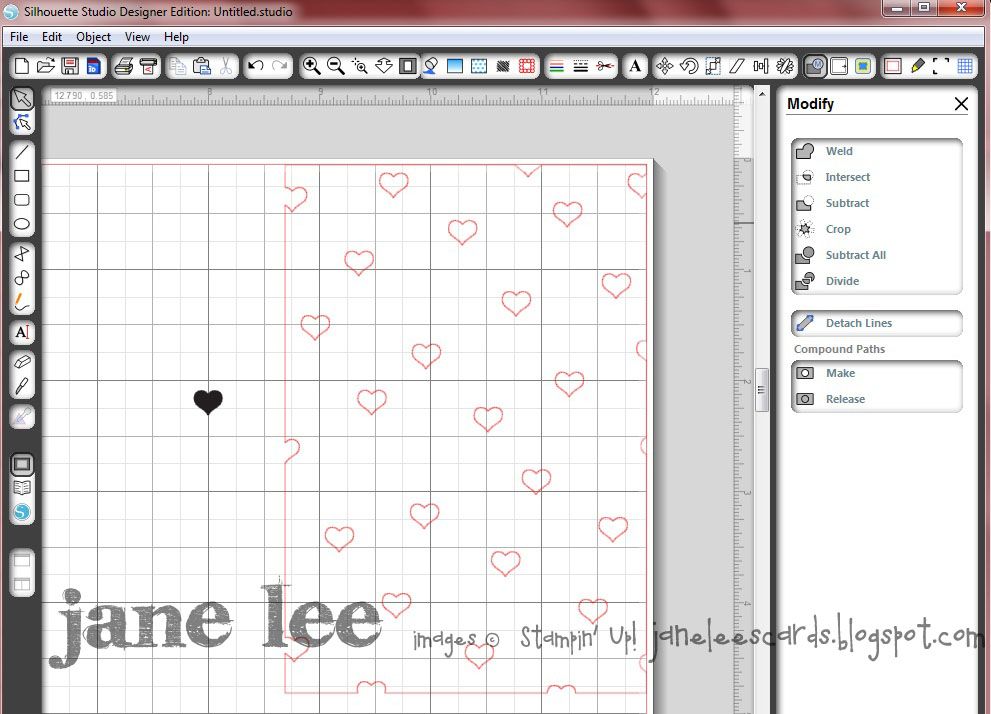
- Now you can cut your project.


Are you wondering what I did with all the cute little hearts that were cut out? They're on the inside of the card, of course.

MDS: Bookstagram - Heart
Stamps: Just Sayin'
Ink: Melon Mambo, Jet Black StazOn
Paper: Whisper White, Coastal Cabana, Watercolor Paper
Accessories & Tools: Aqua Painter, Big Shot, Word Bubbles Framelits, White Baker's Twine, Wooden Elements Embellishments, Dimensionals, SNAIL Adhesive, Glue Dots
Other: Ecutter
Order everything from my site {HERE}
Go back and visit my fantastic friend Erica's blog or move on to the next blog and visit Jeanna's. I'm so lucky to be sandwiched between two of my great friends.
Do you follow me on Pinterest? You can.
Did you order your Paper Pumpkin yet?
Full project kits delivered straight to your door.
What are you waiting for??

Oh, Jane! This is just so you and so CUTE. I love everything about it!
ReplyDeleteDearest Sarah, I miss you so much!! Thank you for your sweet comments.
DeleteTexture! Love it. I didn't put an e-cutter on my Christmas list; not sure I can wait for my July BD!
ReplyDeleteJane, I love this card.
ReplyDeleteCUTE! So you finally are using it! I am still yet to plug mine in:)
ReplyDeleteWhat a fun way to use your e-cutter! This is so cute!!
ReplyDelete