Welcome to the 2014 *January* edition of the Wednesday Artisan Blog Hop. Check back every Wednesday to see new projects that all 10 of the Stampin' Up! Artisans have created.
Follow the 2013 Artisan Design Team Pinterest Board:
I hope your January has been going awesome! Mine has. It was a tough decision but DH started a new job after being with his old one for 12 years. I hope the Lee house is ready for change. He'll be telecommuting from his office in our basement, which is right next to mine. I hope I can still craft with my music cranked up high. EEEEeeeep!
Anyway... Are you loving the new Mini Catalog?
GORGEOUS.
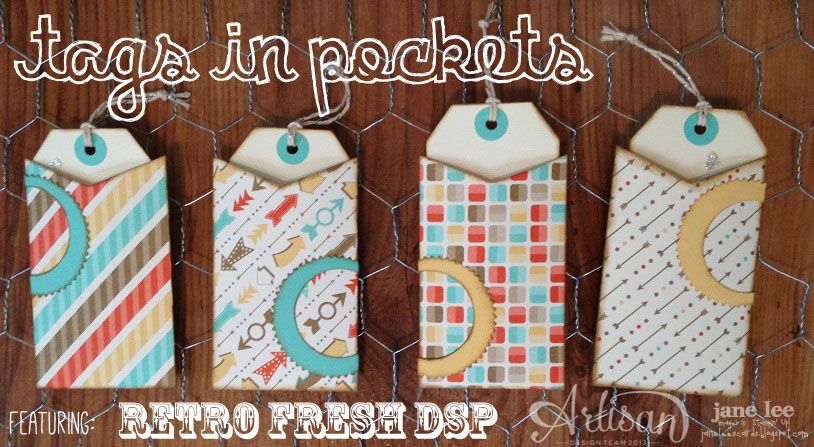
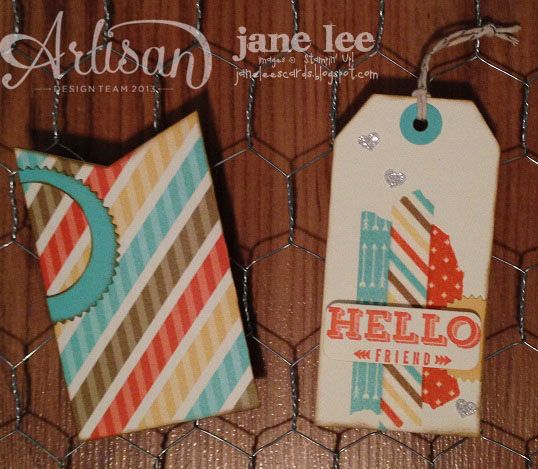
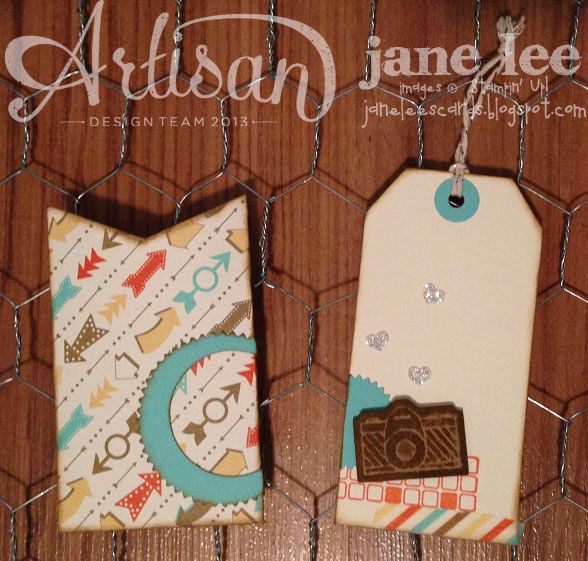
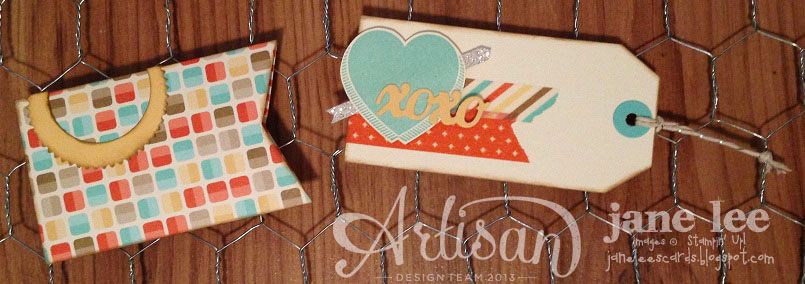
I am addicted to Framelits. You can probably tell after looking at my project. I used a TON! Don't forget to scroll all the way to the end of this post for the recipe on how to create the pockets.
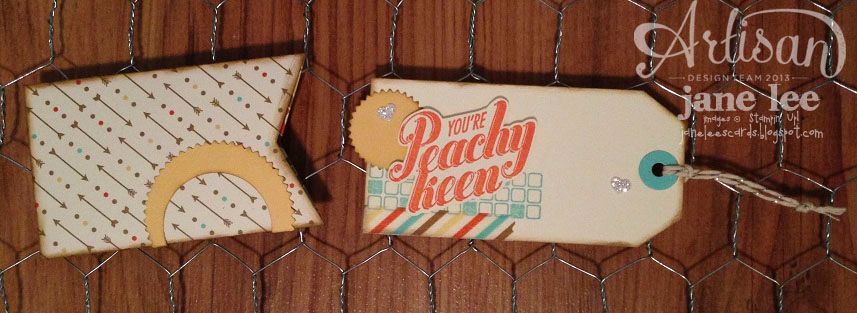
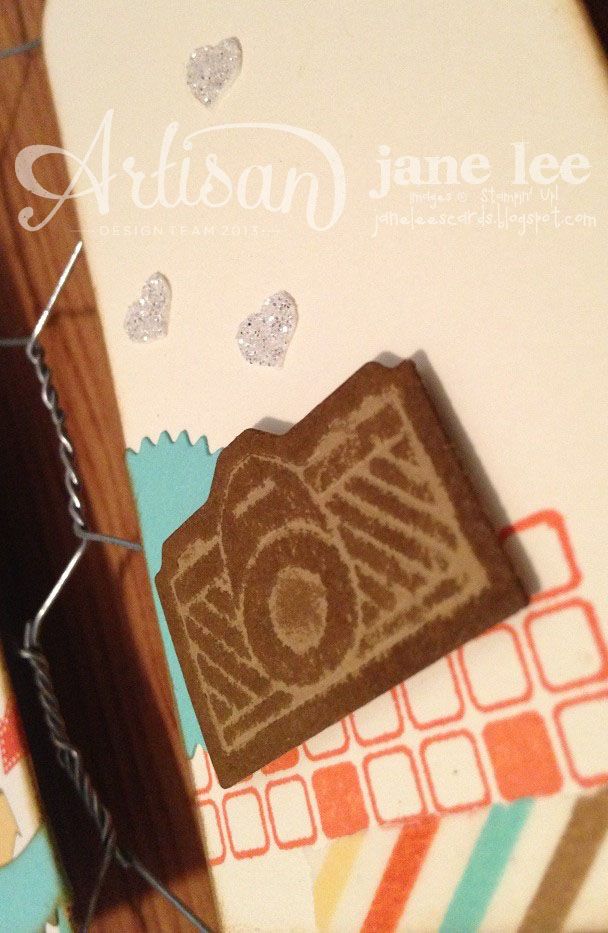
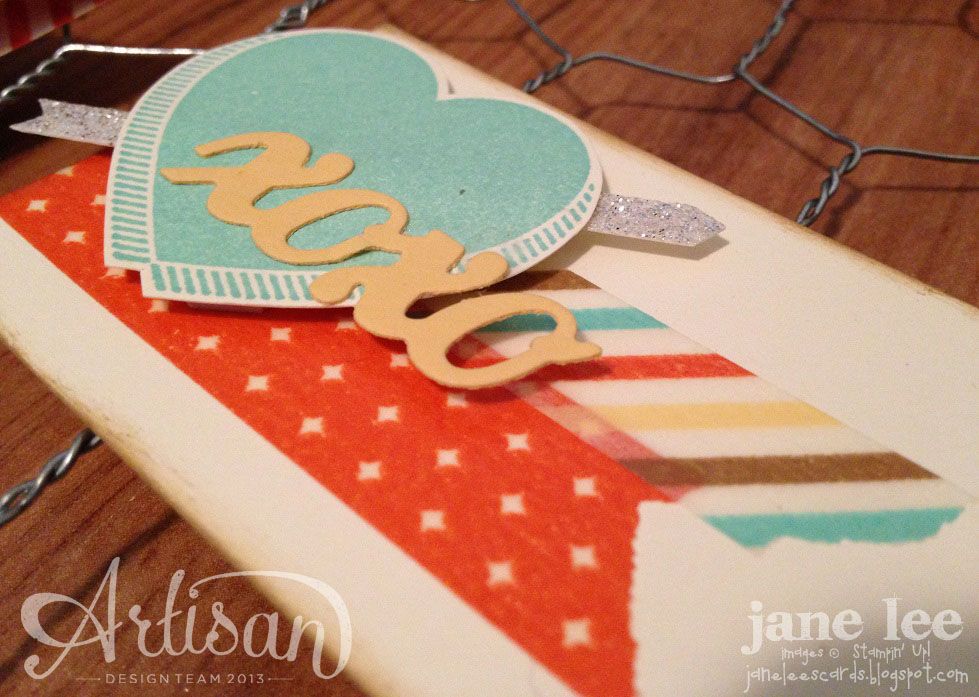
The cute little hearts are left over from this post. So glad I could use them on these cute tags.
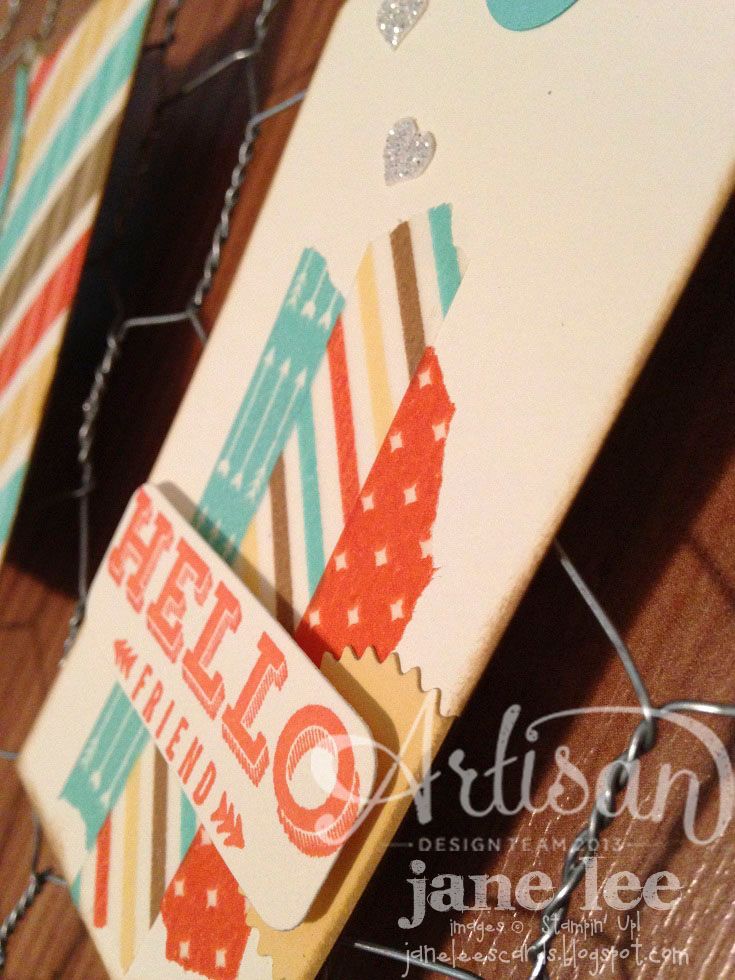
I used a word bubble framelit to cut out the sentiment. I cut it one way, and then turned it over and cut it again to get a completely rounded punch. Does that make sense?
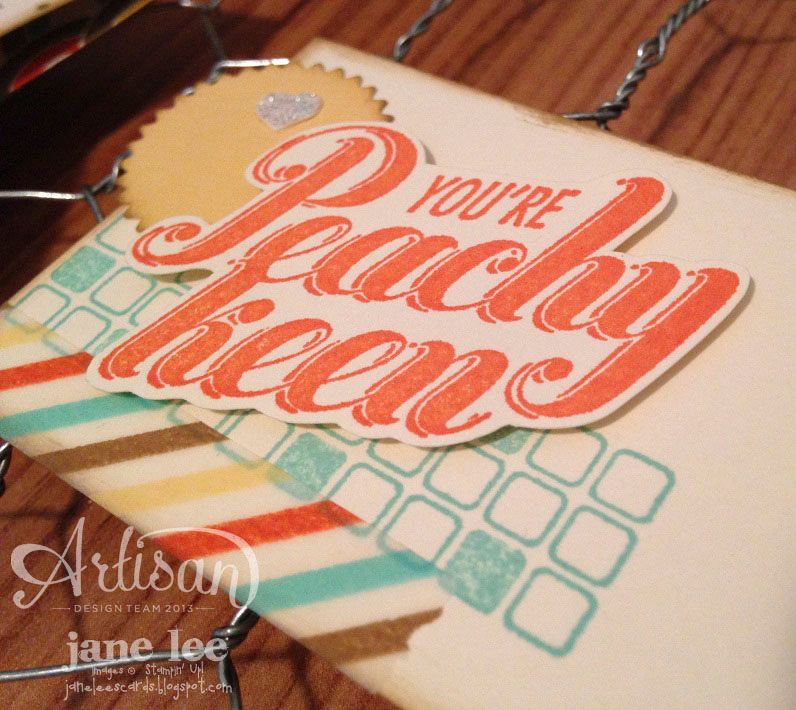
I cut out this sentiment leaving a little border so that it looked like a sticker. I really like how it turned out.
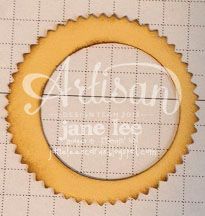
I added this piece to the outside of my pocket. The pocket just needed *something*. I used the 2nd to smallest framelit in the Starburst set and then cut 1-3/8" circle out of it.
Then I wrapped it around my pocket. When you sponge your new piece and adhere it to your pocket, it gives the illusion that your pocket IS the saffron color and you've done a lot of extra work to make everything stay together. Tricky, tricky!
Each tag is 4" x 2".
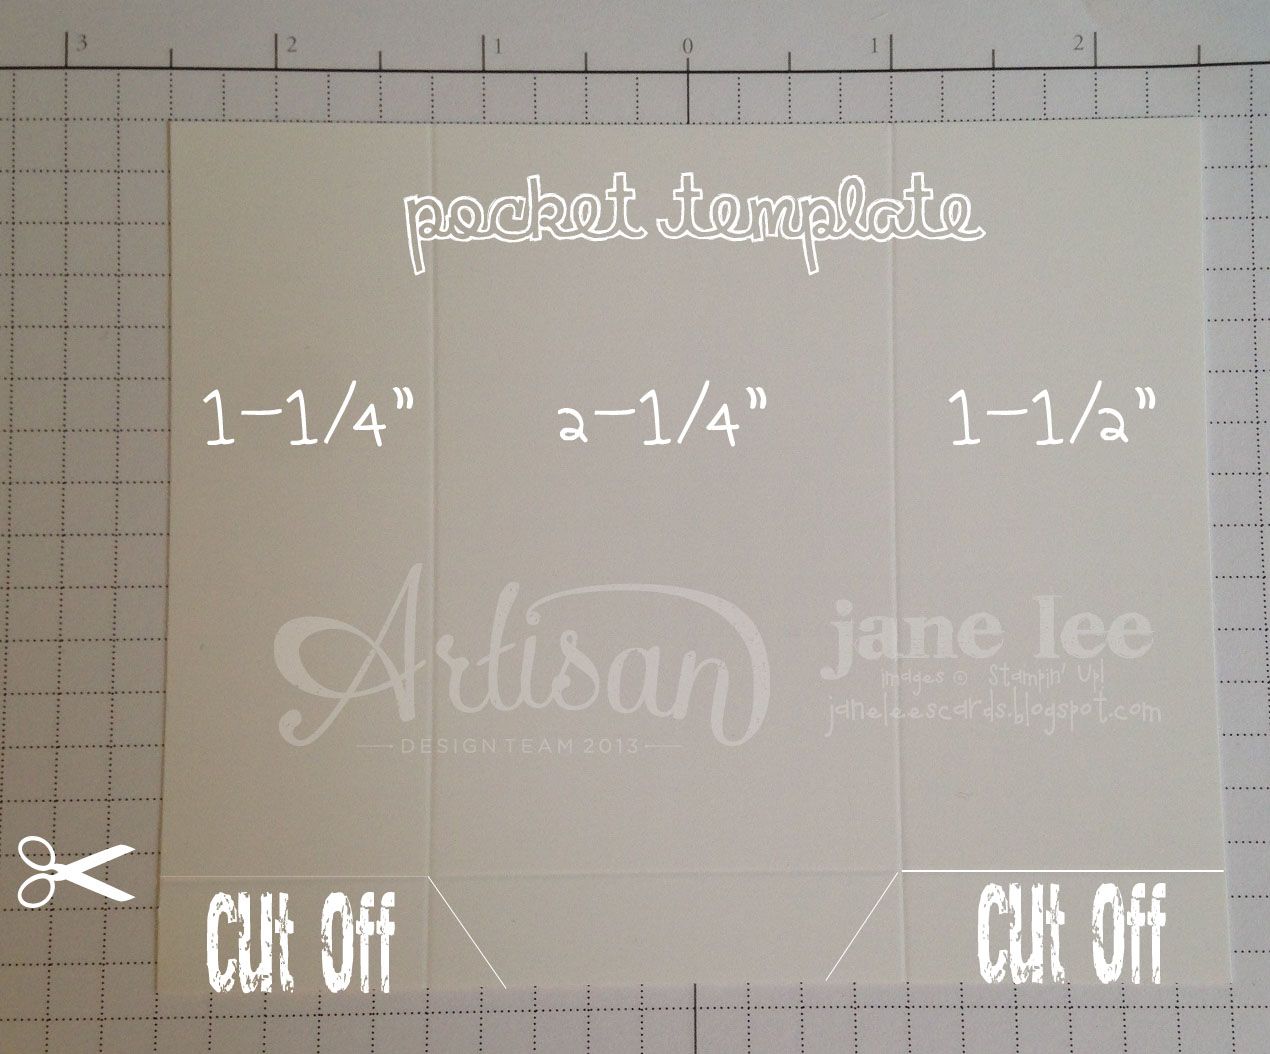
After you've assembled your pocket, cut the top so you get your angled openings for your pocket (if you want.) I you could just leave it as is if you'd rather the straight pocket look.

Stamps: Peachy Keen
Ink: Baked Brown Sugar, Coastal Cabana, Tangerine Tango
Paper: Coastal Cabana, So Saffron, Very Vanilla, Silver Glimmer Paper, Retro Fresh DSP
Accessories & Tools: Angled Tag Topper Punch, 1/2" Circle Punch, 1-3/8" Circle Punch, Silver Baker's Twine, Big Shot, Word Bubbles Framelits, Starburst Framelits, On Film Framelits, Circle Card Framelits, RetroFresh This and That Designer Washi Tape, Sponge Daubers, Dimensionals, SNAIL Adhesive, Tombow Multipurpose Liquid Glue, Simply Scored
Order everything from my site {HERE}
Go back and visit my fantastic friend Erica's blog or move on to the next blog and visit Jeanna's. I'm so lucky to be sandwiched between two of my great friends.
Do you follow me on Pinterest? You can.
Did you order your Paper Pumpkin yet?
Full project kits delivered straight to your door.
What are you waiting for??


Jane, this has to be one of my all time favorite projects that you have ever made! I am CRAZY about the way you made the sleeves for the tags!!!
ReplyDeleteThese are adorable! Love them Jane! I'll be making some of these for sure!
ReplyDeleteYou know I LOVE tags and these are AWESOME!! Every detail is perfect.
ReplyDeletemini works of art!
ReplyDeleteThese are so cool! Thanks for the pocket template!
ReplyDeletegreat idea!
ReplyDeleteOhhh sure a great job on the tutorial!!!! How's the music? LOL
ReplyDelete