Welcome to the 2014 *May* edition of the Wednesday Artisan Blog Hop. Check back every Wednesday to see new projects that all 10 of the Stampin' Up! Artisans have created.
Follow the 2013 Artisan Design Team Pinterest Board:
Did you see my project on Stampin' Up's facebook page? If you did, here is a more expanded version of that post.
Oh, Blendabilities... Were you as excited/scared as I was to see these in our product line? I'll admit, I was scared out of my mind. Real artists can paint and color. Right? I've never lumped myself into that group and coloring with markers scared me to death. I will say that the best way to get over this fear (like any other) is to just jump right in. My first attempt was scary.
See?
Ick.
All the lines. No blending. What the heck??!!
But I played around with the coloring (and watched a few YouTube videos) and figured out how to color properly with alcohol-based markers.
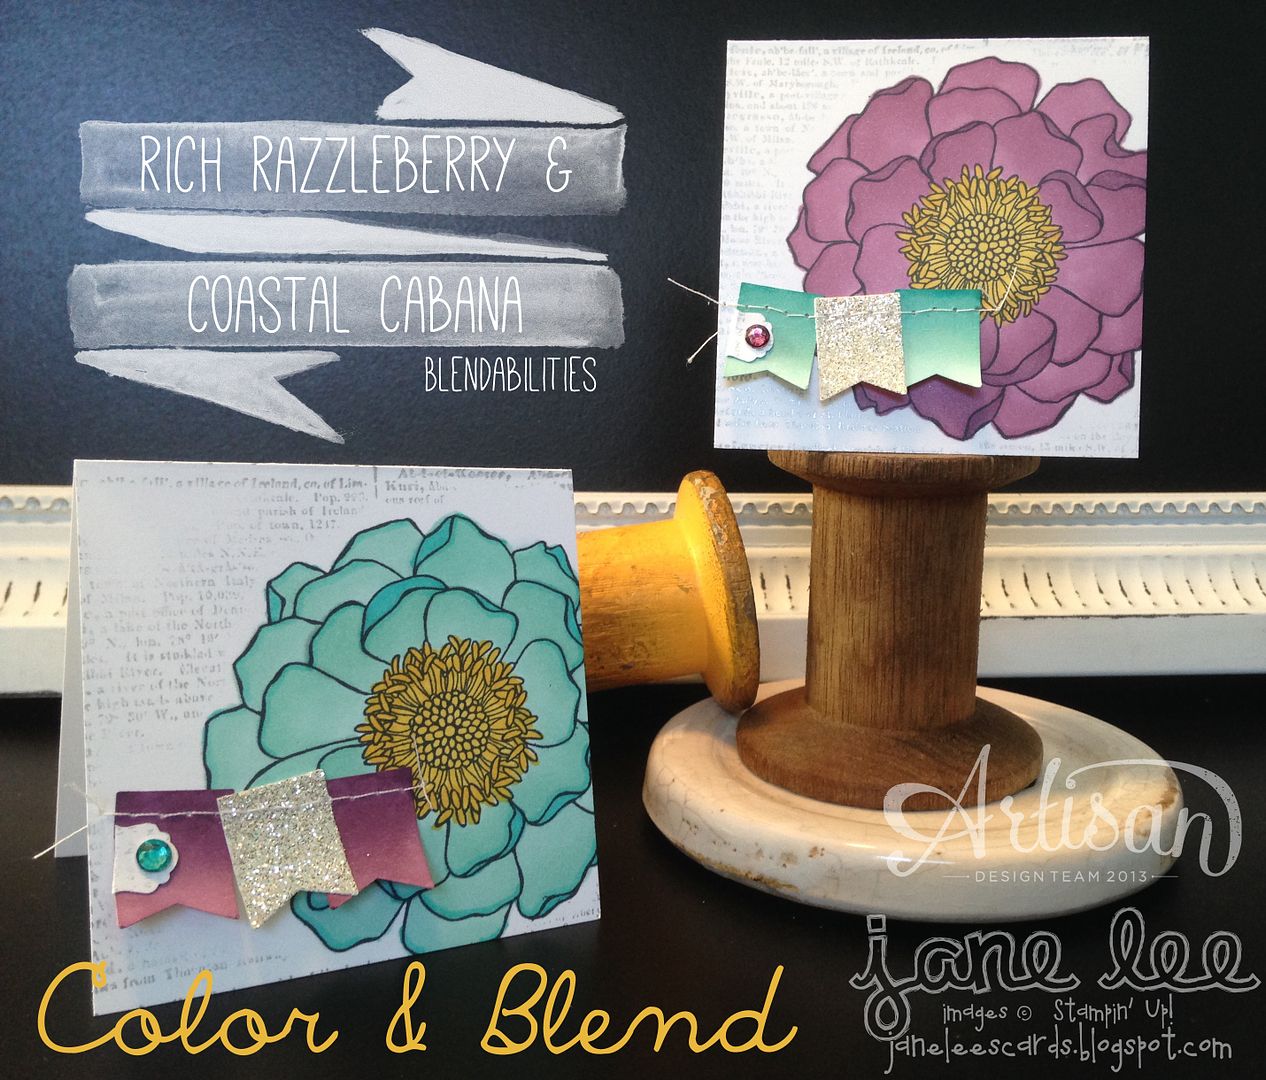
The best tip I can give is when color with Blendabilities, to only color 1 section at a time. For this project, I colored 1 petal at a time. I started with the lightest color and colored the entire petal. Then I traced the edges I wanted darker with the medium color. Then I blended with the lightest color. After that, use the darkest color where you want and blend with the lightest color again.
Try it.
You'll get it.
And yes, your paper will be soaked through to the back. But it dries so you'll be fine.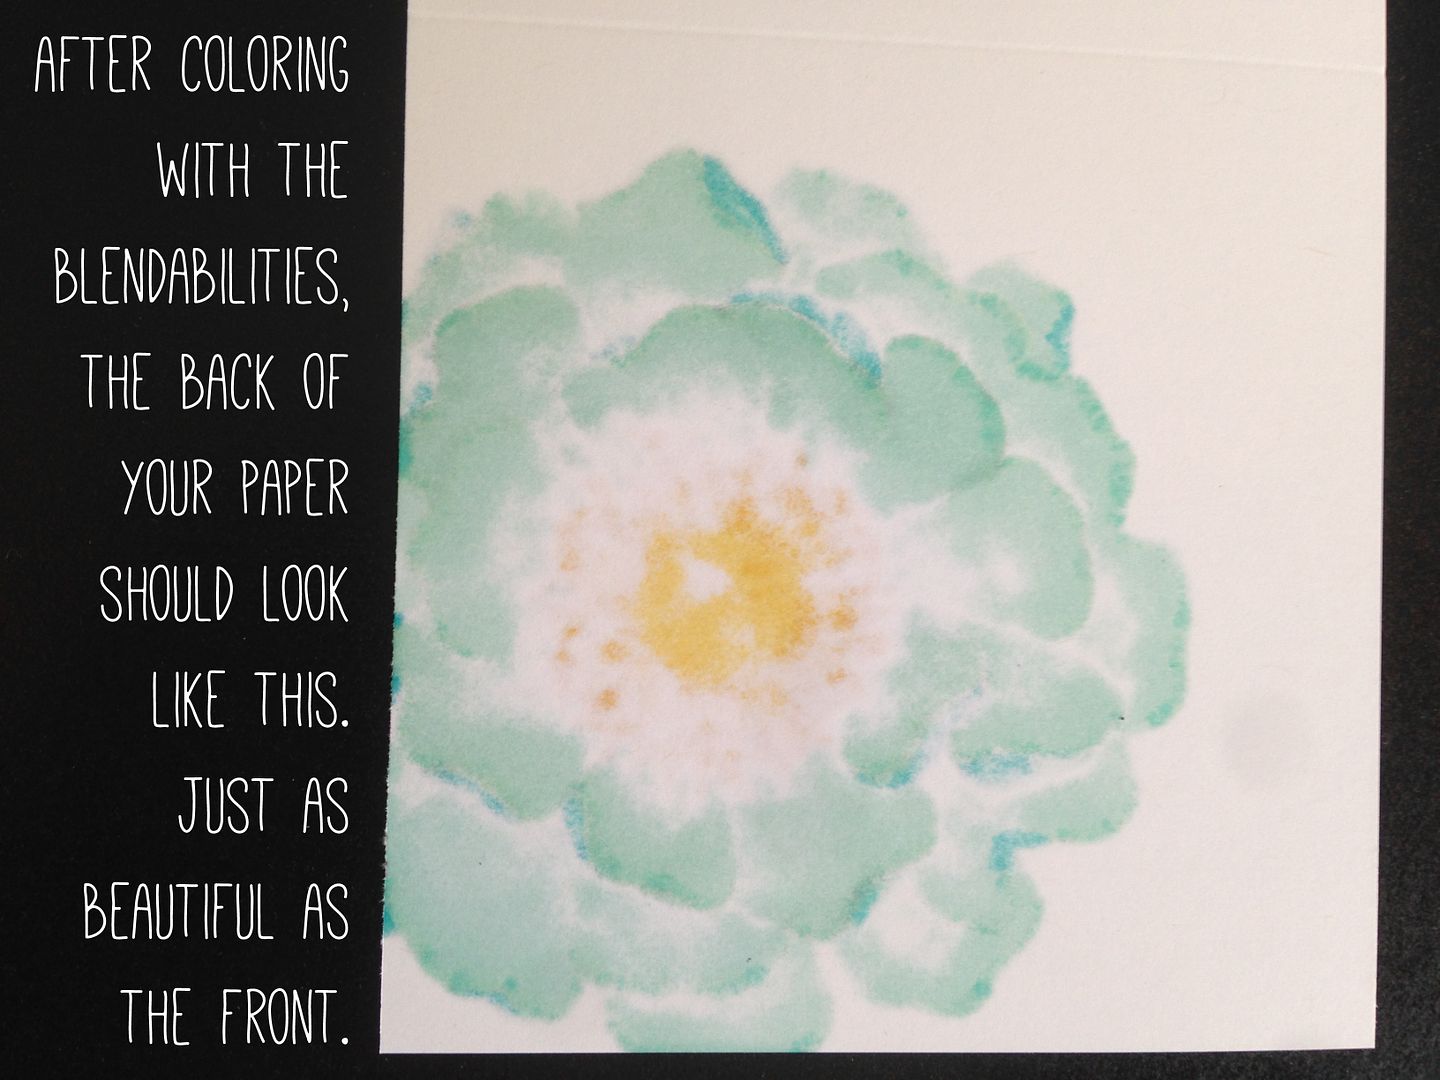
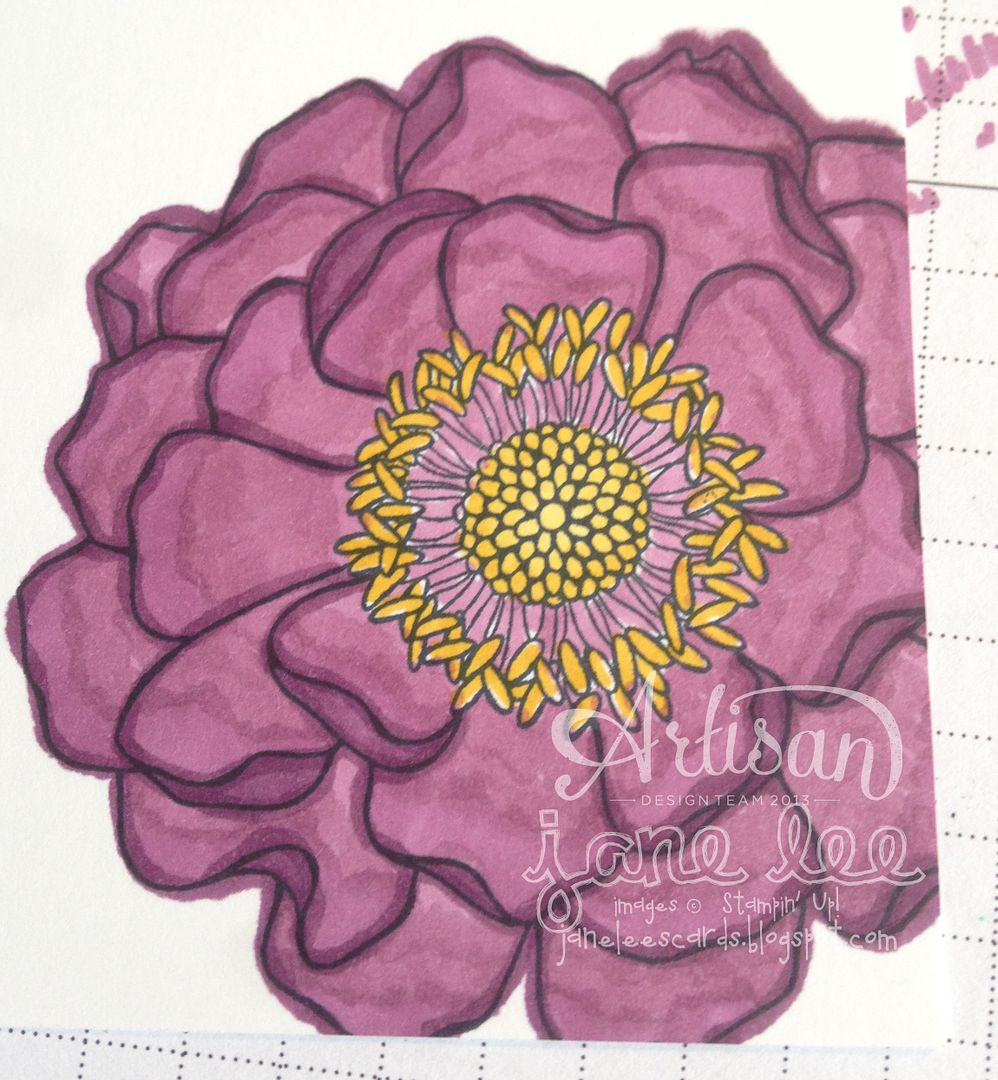
{this is what the back of my Coastal Cabana flower looks like}
See? It all works out in the end.
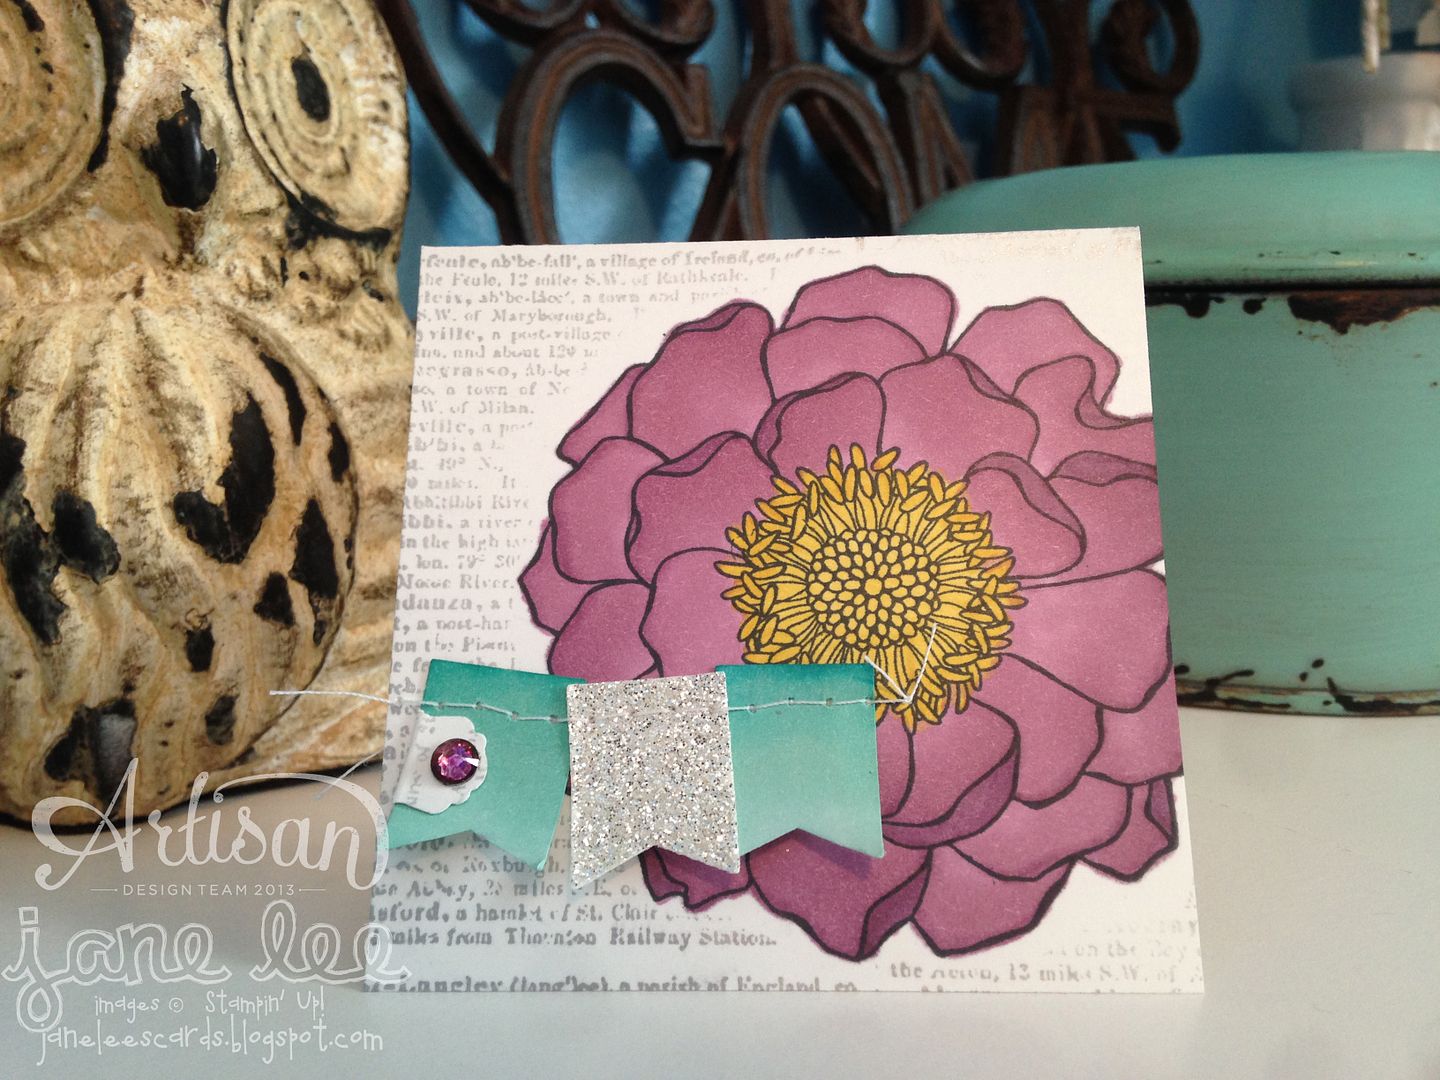
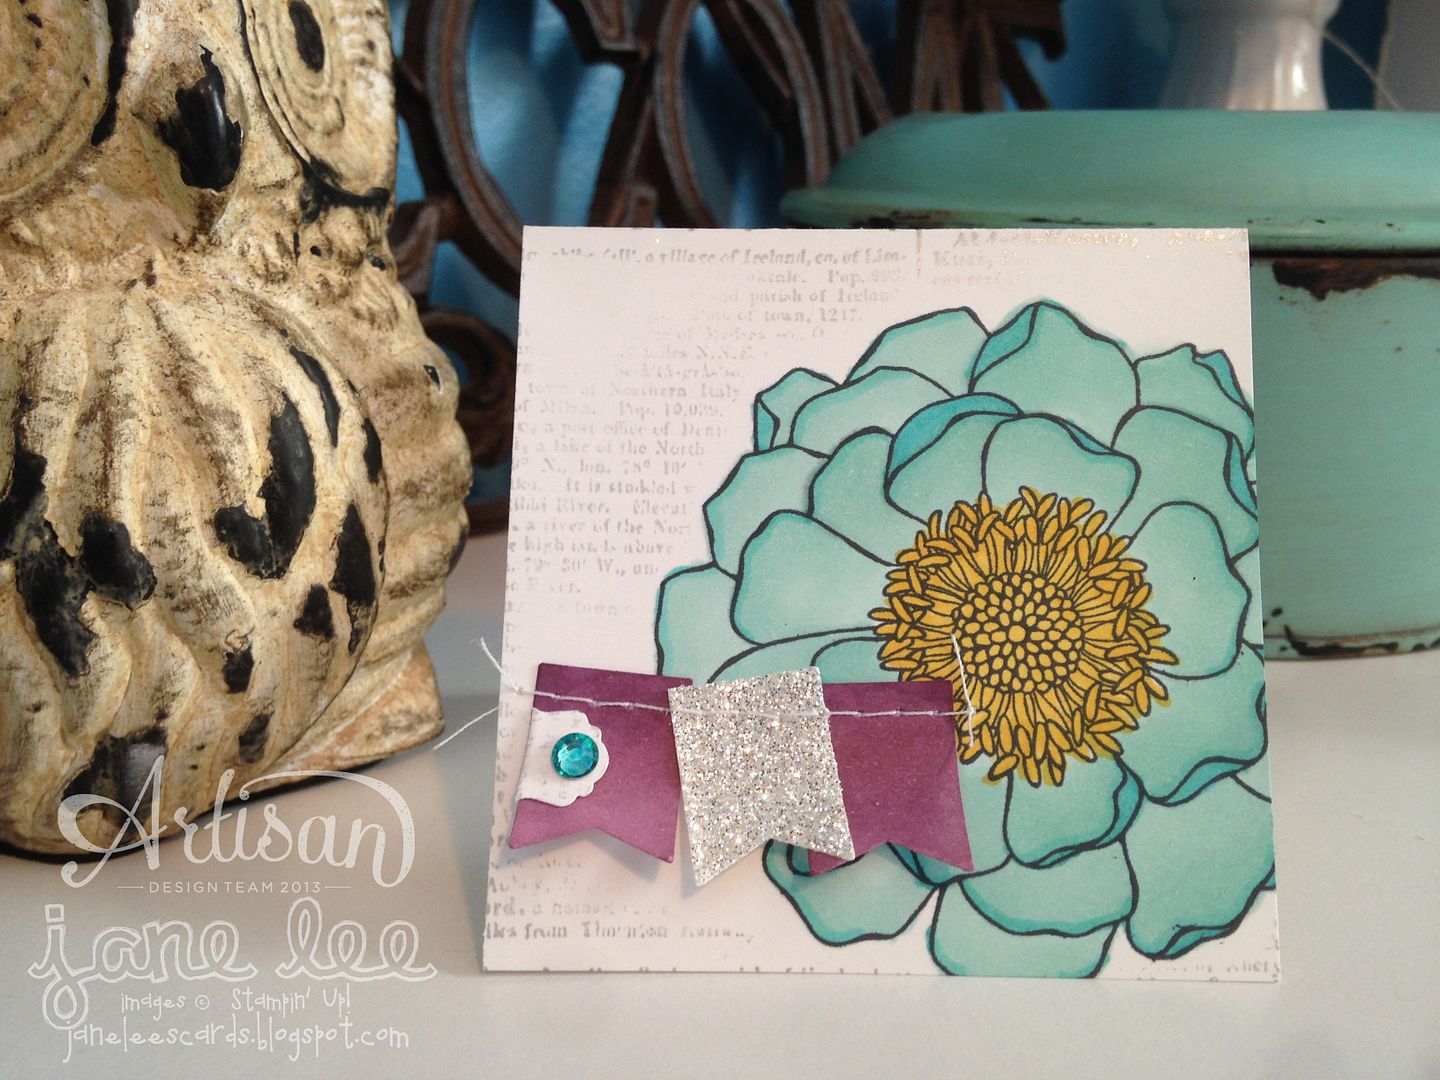
Did you notice that I even colored my banner pieces?
Yep.
I did.
The best tip I can give is when color with Blendabilities, to only color 1 section at a time. For this project, I colored 1 petal at a time. I started with the lightest color and colored the entire petal. Then I traced the edges I wanted darker with the medium color. Then I blended with the lightest color. After that, use the darkest color where you want and blend with the lightest color again.
Try it.
You'll get it.
And yes, your paper will be soaked through to the back. But it dries so you'll be fine.

{this is what the back of my Coastal Cabana flower looks like}
See? It all works out in the end.

Did you notice that I even colored my banner pieces?
Yep.
I did.

Stamps: Blended Bloom, Dictionary
Ink: Coastal Cabana, Daffodil Delight, & Rich Razzleberry Blendabilities; Silver Encore® Pad, Tuxedo Black Memento™ Pad
Paper: Whisper White, Silver Glimmer Paper
Accessories & Tools: Rhinestones Basic Jewels, Little Labels Punch Pack, Paper Snips, Glue Dots
Other: Sewing Machine, White Thread
Order everything from my site {HERE}
Go back and visit my fantastic friend Erica's blog or move on to the next blog and visit Jeanna's. I'm so lucky to be sandwiched between two of my great friends.
Do you follow me on Pinterest? You can.
Did you order your Paper Pumpkin yet?
Full project kits delivered straight to your door.
What are you waiting for??



You seriously amaze me, I love these little card cuties!
ReplyDeleteBeautifully done! I was scared of markers, too. I have owned the other brand for years. The box sits above my desk and intimidates me. These markers have opened up a whole new world for me. Now I can buy all of the sets that I love without worrying about whether or not I'll be able to color it. They are so much fun! I just love your cards!
ReplyDelete